|
| *****SWAAG_ID***** | 272 |
| Date Entered | 22/08/2011 |
| Updated on | 11/11/2011 |
| Recorded by | Stephen Eastmead |
| Category | SWAAG Site |
| Record Type | Archaeology |
| SWAAG Site | Reeth High Moor |
| Site Access | Public Access Land |
| Record Date | 22/08/2011 |
| Location | Mill Bottom Surrender Bridge |
| Civil Parish | Melbecks |
| Brit. National Grid | NY 99 00 |
| Altitude | Between 320m and 370m |
| Geology | Relatively low lying area of moorland between Reeth High Moor to the west and Reeth Low Moor to the east. The moorland is generally poorly drained. The soil appears to be glacial till. |
| Record Name | Mill Bottom area near Surrender Bridge |
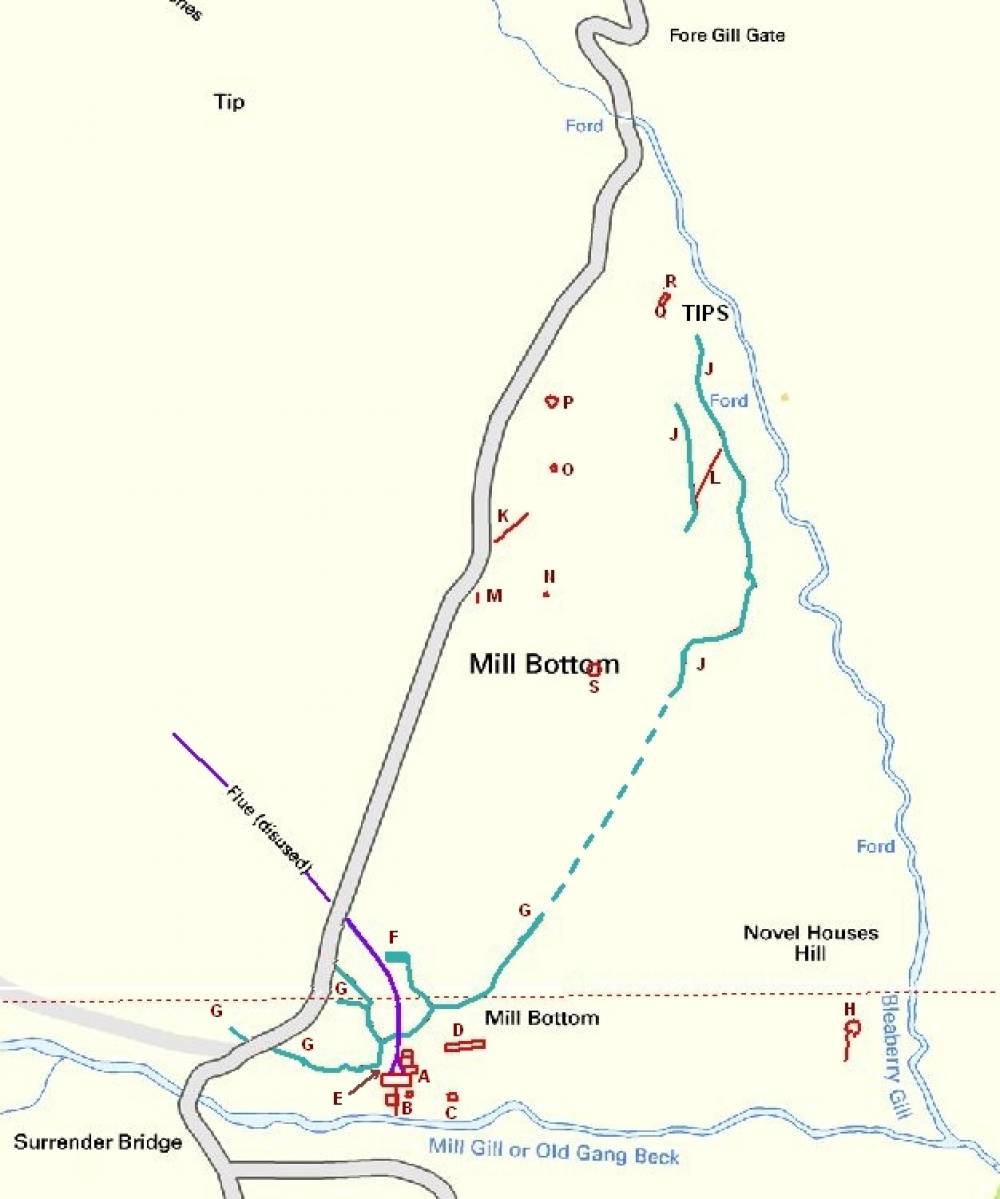
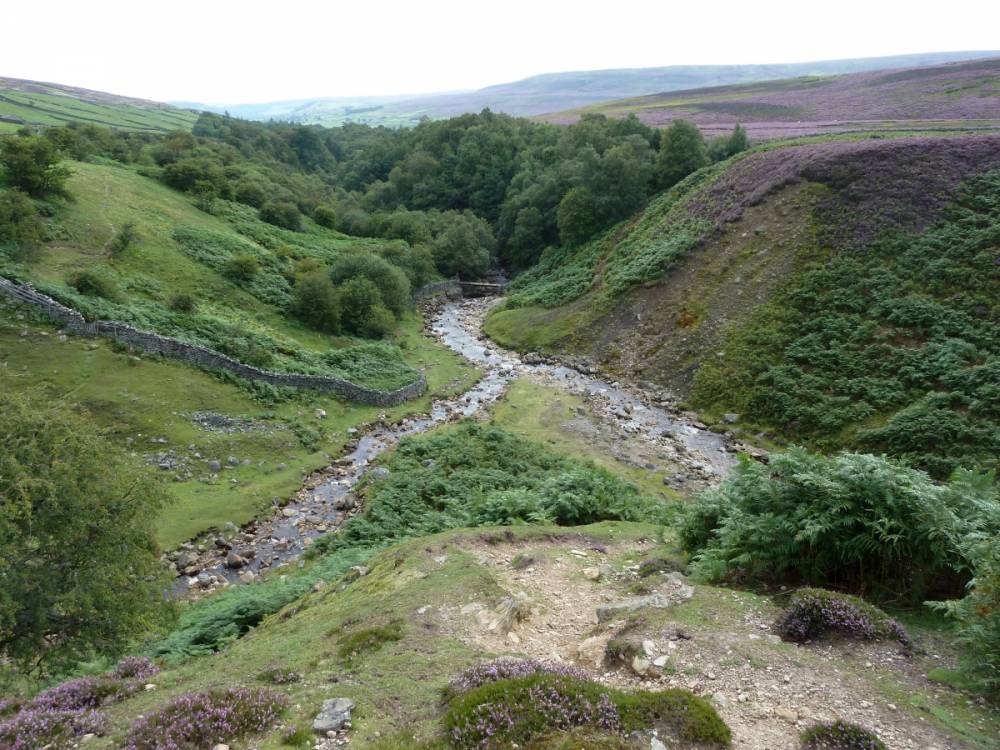
| Record Description | This is a triangular area of moorland bounded by the ford below Fore Gill Gate, Surrender Bridge and the confluence of Barney Beck and Bleaberry Gill.
The area contains significant industrial archaeology relating to the lead mining industry, as well as an enclosure, cairns and coaxial field boundaries. No doubt other archaeological features are hidden in the heather.
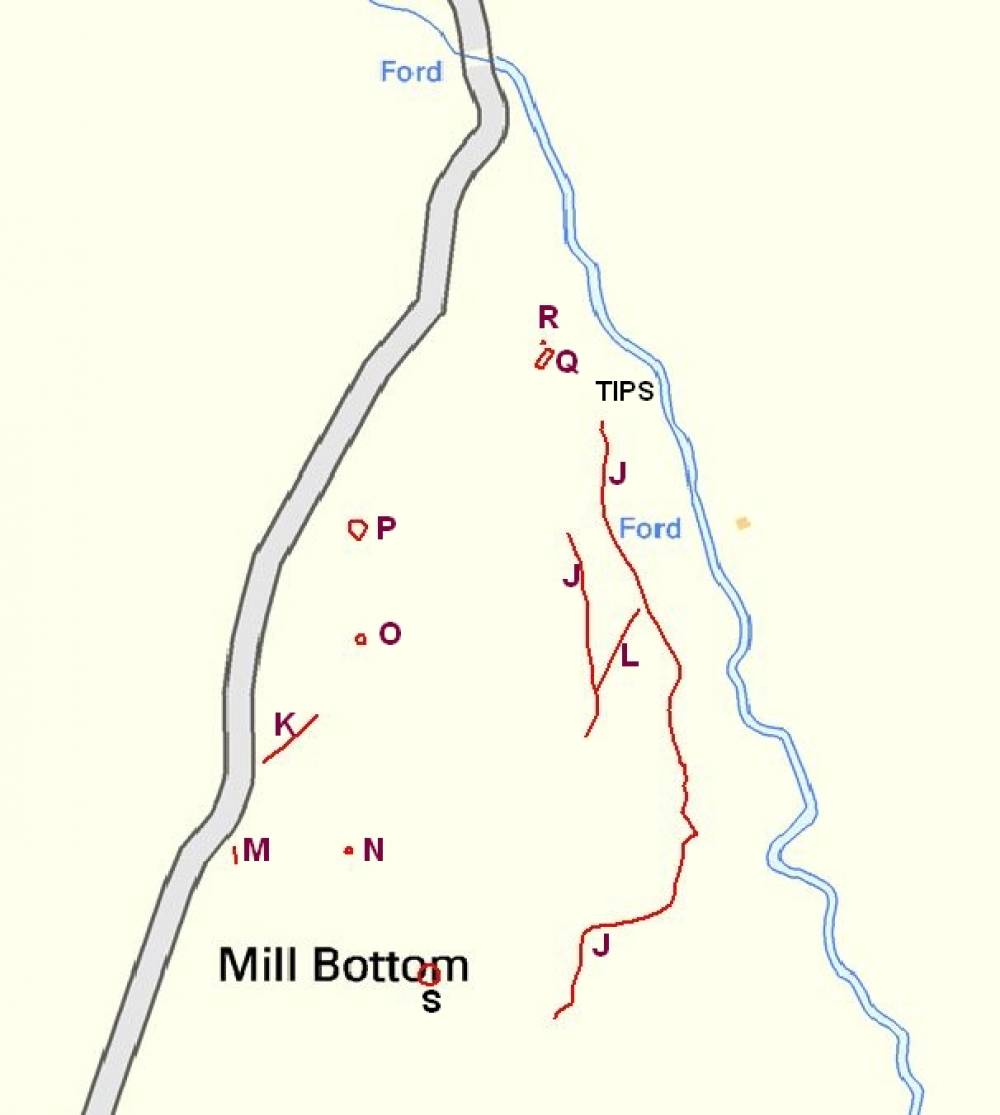
The detail described below is indexed A to S, and is also shown on a map generated from GPS waypoints for the various features. See map images 1 to 3. The lead mining features are described first.
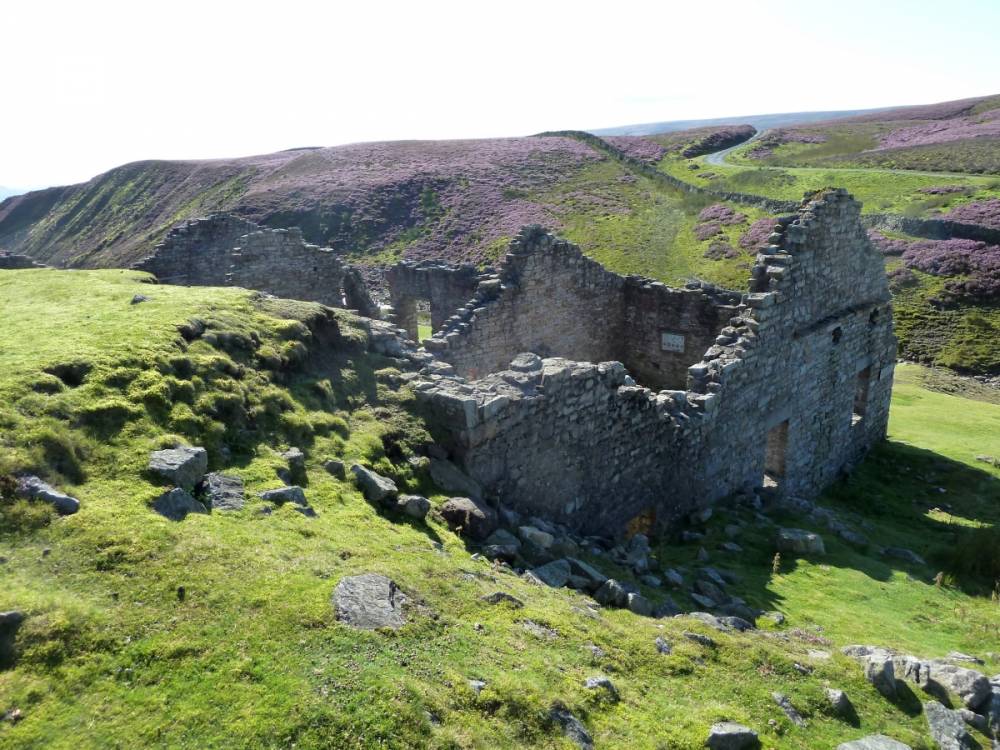
Image 2 and 4 shows the Surrender Smelt Mill complex. The main features are: Main Surrender Smelt Mill building (A) Image 5.
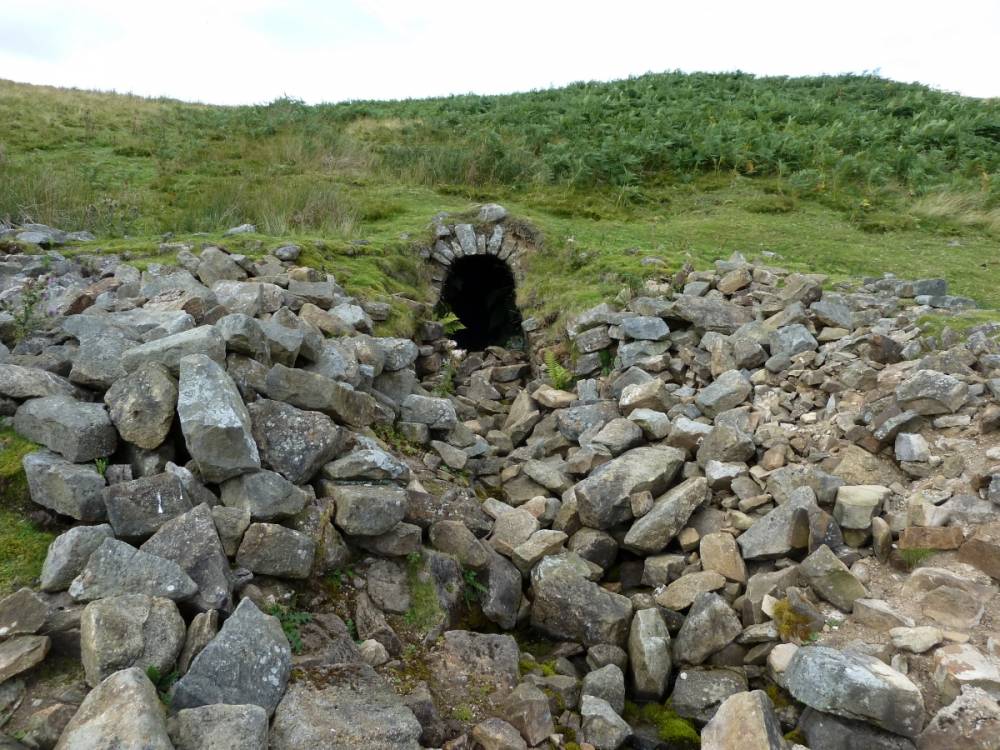
Grinding Mill and another small building (B) Image 6. Note the leat carrying water from the waterwheel race in the smelt mill to Barney Beck, passes directly under the Grinding Mill building.
Site of one of the former smelt mills (C) Image 7. There were 2 older smelt mills that were both demolished when the present mill was built in 1841. The former mills were built in 1674 and 1682. The site of the other mill is not know but could have been where the 1841 mill now stands.
Peathouse (D) peat drying shed approx 40 x 8 metres Image 8.
Site (E) where all the leats supplying water from the moorland is fed into the smelt mill Image 9. It is very likely that a wooden launder was used to channel the water into the smelt mill and onto the top of the waterwheel. There is an extensive network of banks and leats funnelling water across the moorland Image 10. The southern section leats are indexed with a G. In the northern section the leats are indexed with a J. In-between G and J is a wider area or wet moorland (dotted line). See Image 1.
Rectangular pond (F) at the top of a leat, sited close to the flue (purple line) Image 11.
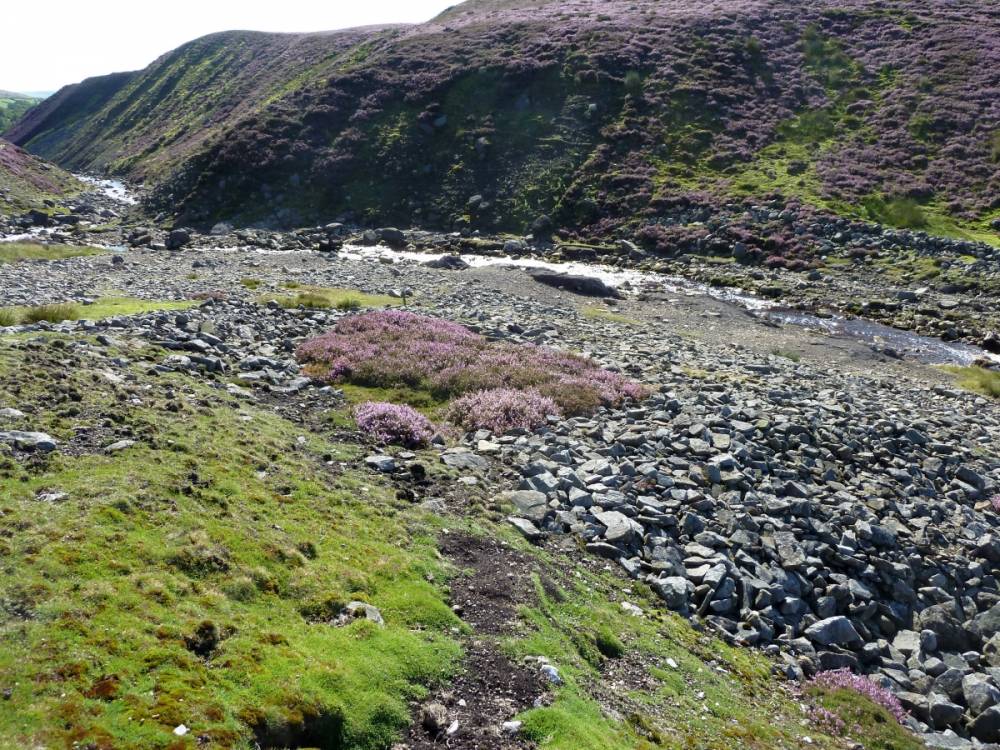
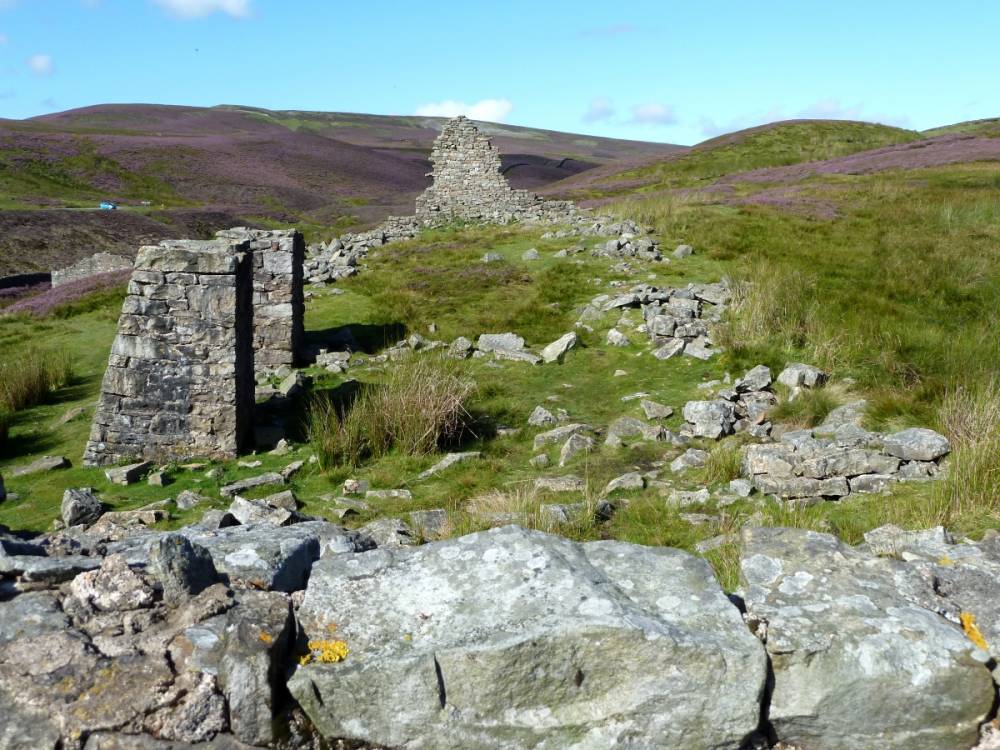
In the northern section of the area close to Bleaberry Gill, is the entrance to Barras End Low level (R) Image 12 and the 'mine shop' nearby (Q) Image 13. Extending away from the level are extensive tips Image 14.
Beside one of the main tips begins a leat (J) Image 15 with an earth bank on the eastern edge, capturing all the water and channeling it around the hillside following the contours towards Surrender Smelt Mill. A smaller leat (J) is present further up the hillside.
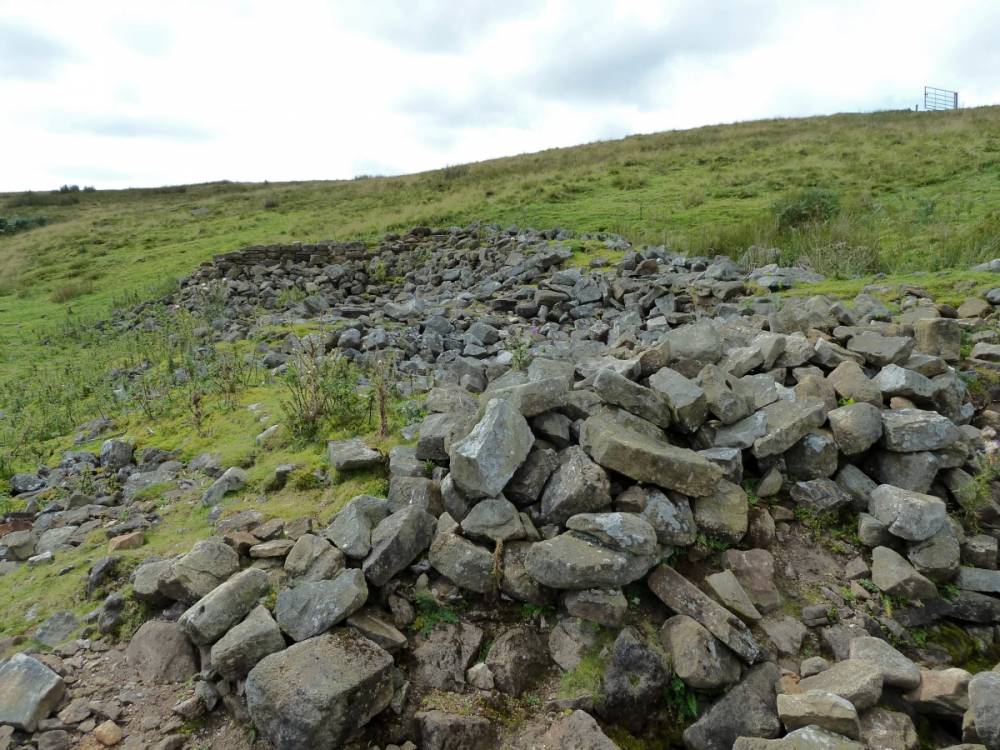
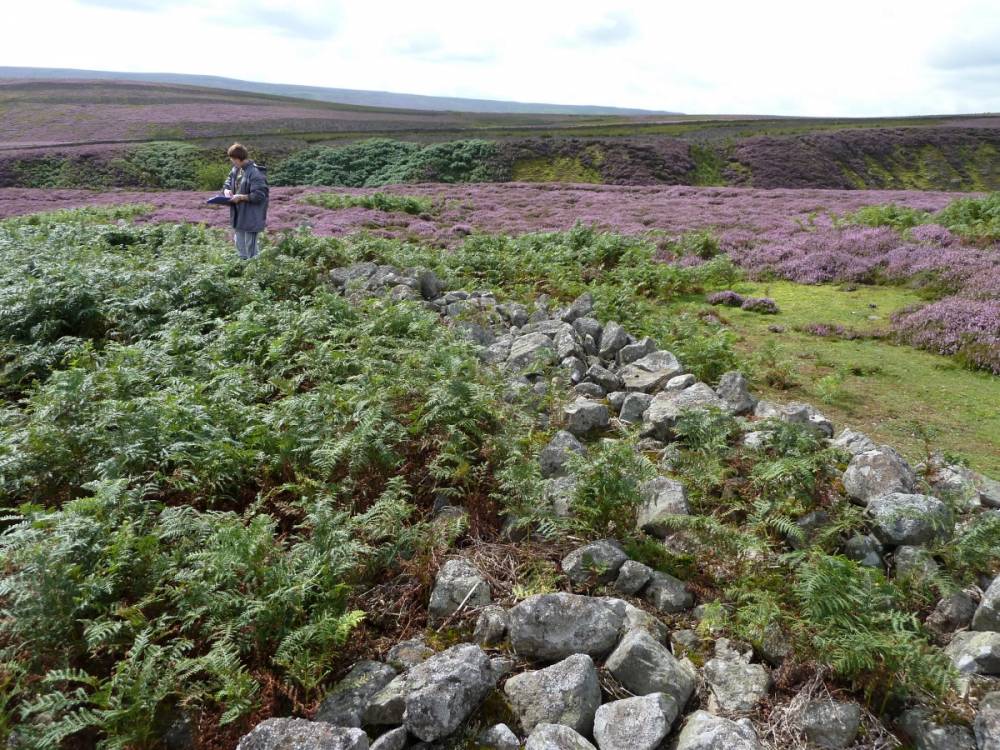
Other archaeology: A substantial drystone wall enclosure (H) Images 16, 17 and 18, approximately 10m diameter and 2m wide. With an entrance facing south. To the west of the entrance is the remains of a wall (20m approx.) Image 19, and to the east of the entrance a much shorter wall (4-5m).
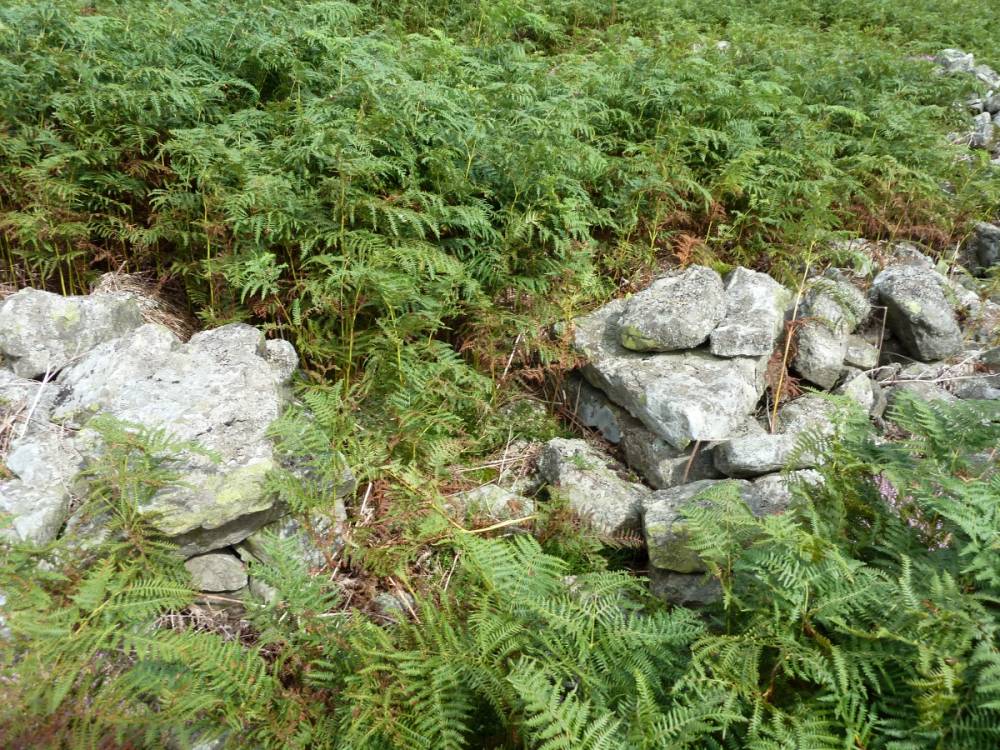
A possible cairn (S) NY 99243 00379 7-8m diameter Image 20.
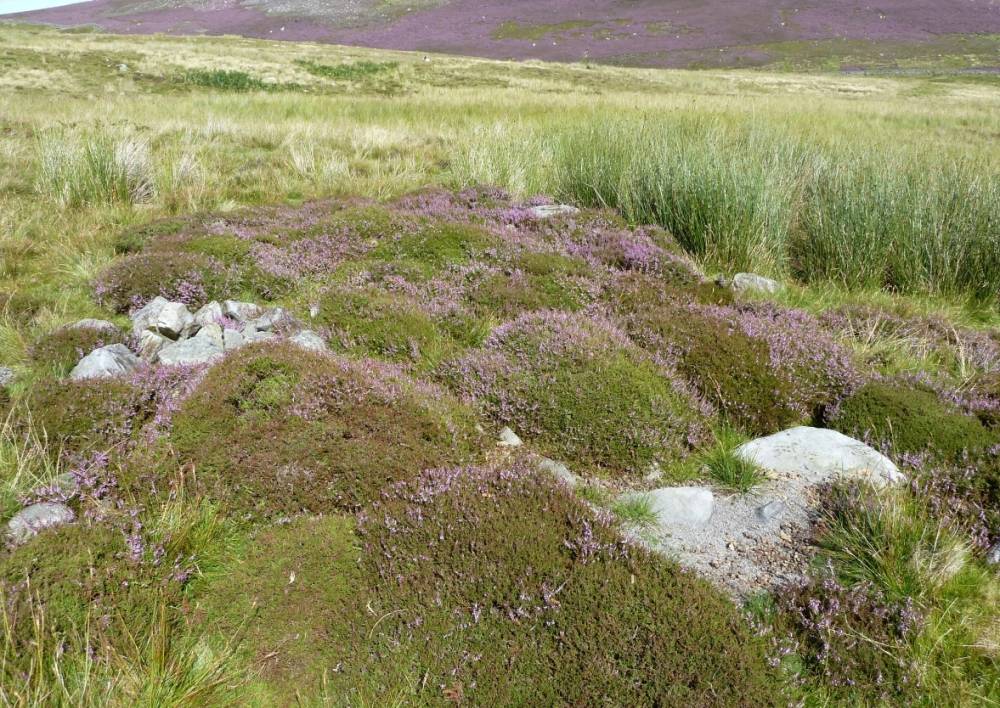
A Cairn (N) NY 992198 00390 5m diameter Image 21.
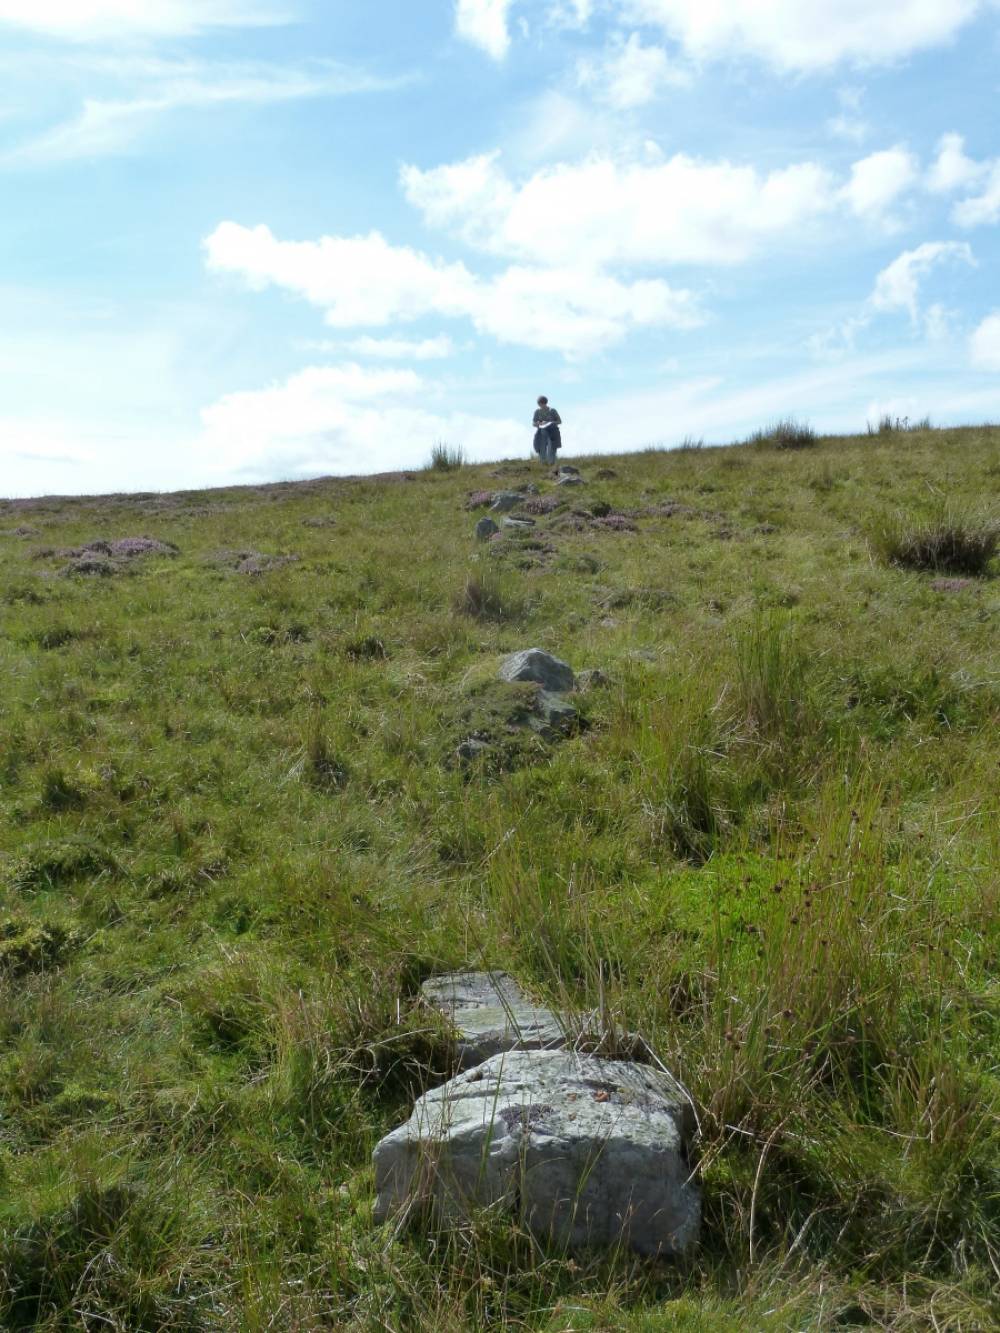
A short wall remnant (M) stone scatter approx 2m wide. NY 99131 00393 Image 22.
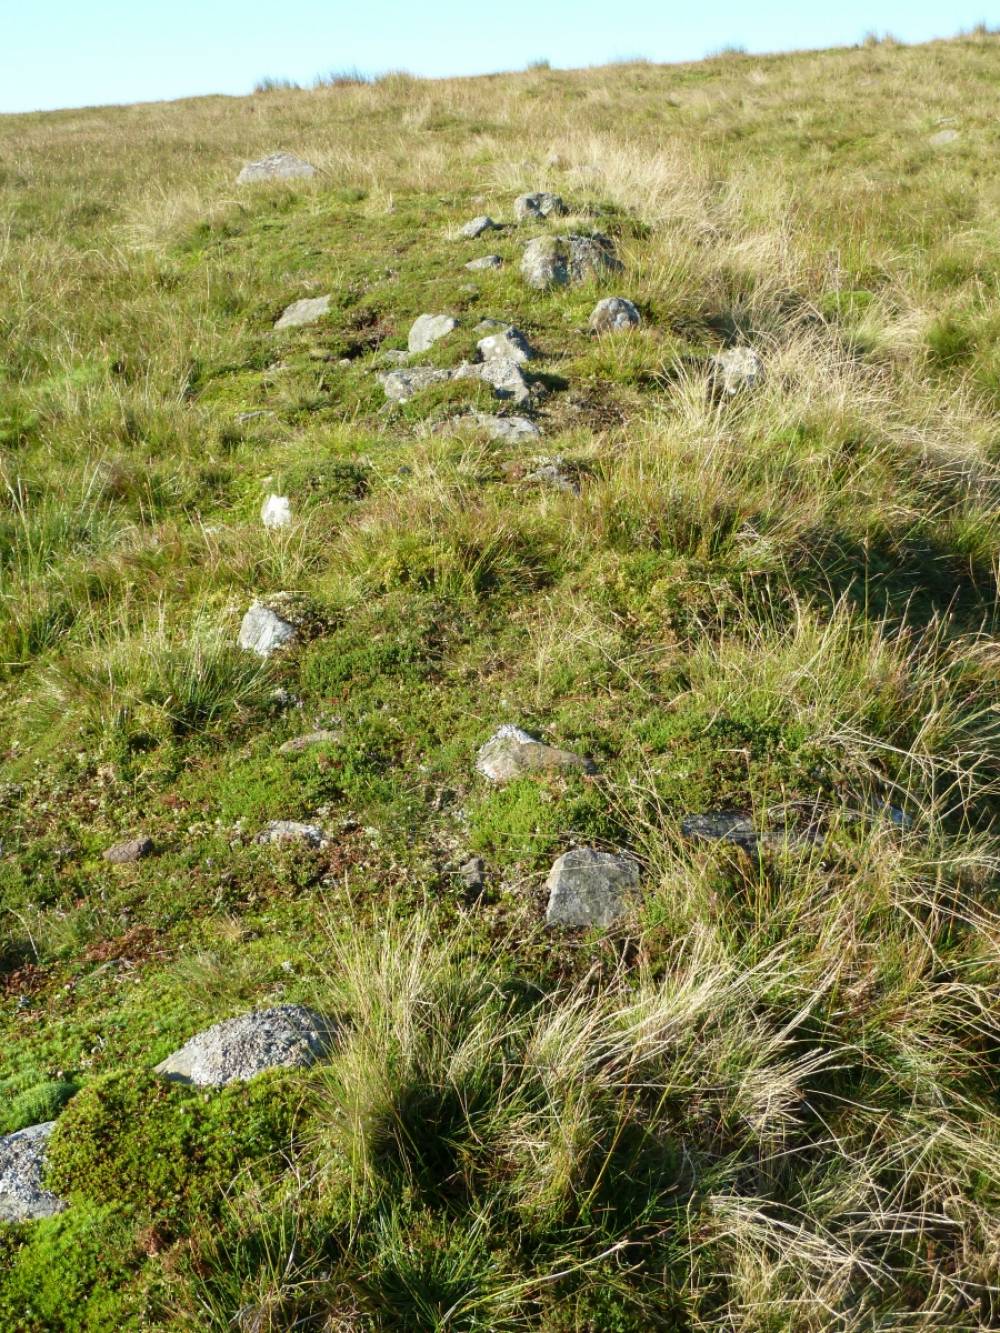
A coaxial field system remnant (K) NY 99147 00400 Image 23.
A possible cairn (O) 3m diameter NY 99204 00396 Image 24.
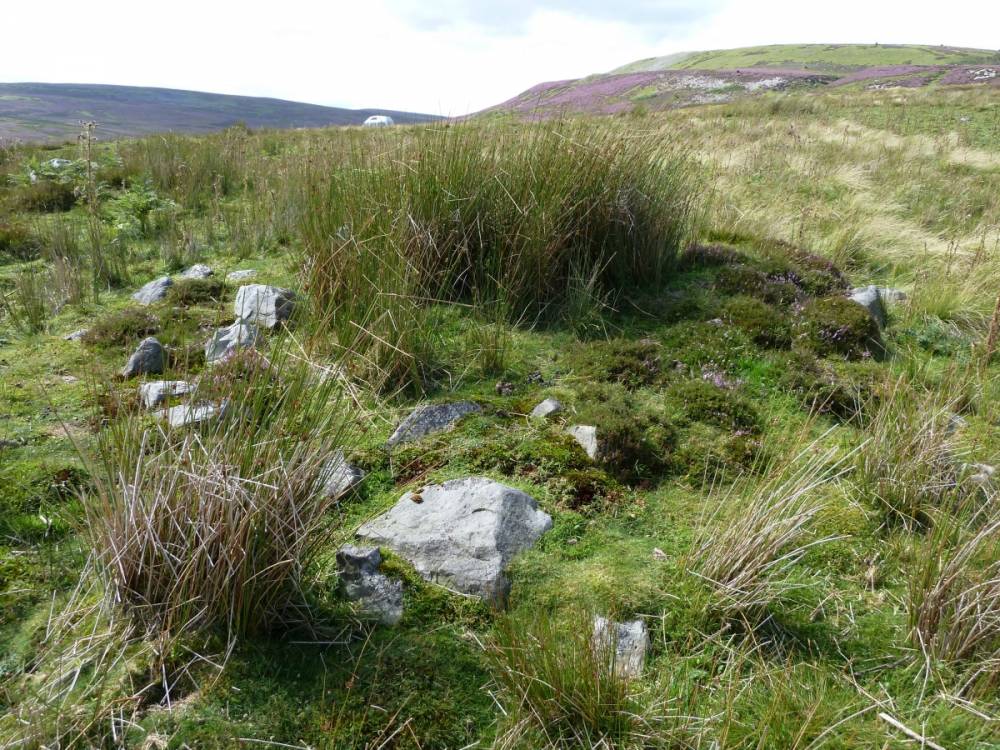
A irregular ring of 11 stones many difficult to see in the long grass (P), ?archaeology ?random. NY 99197 00399 Image 25.
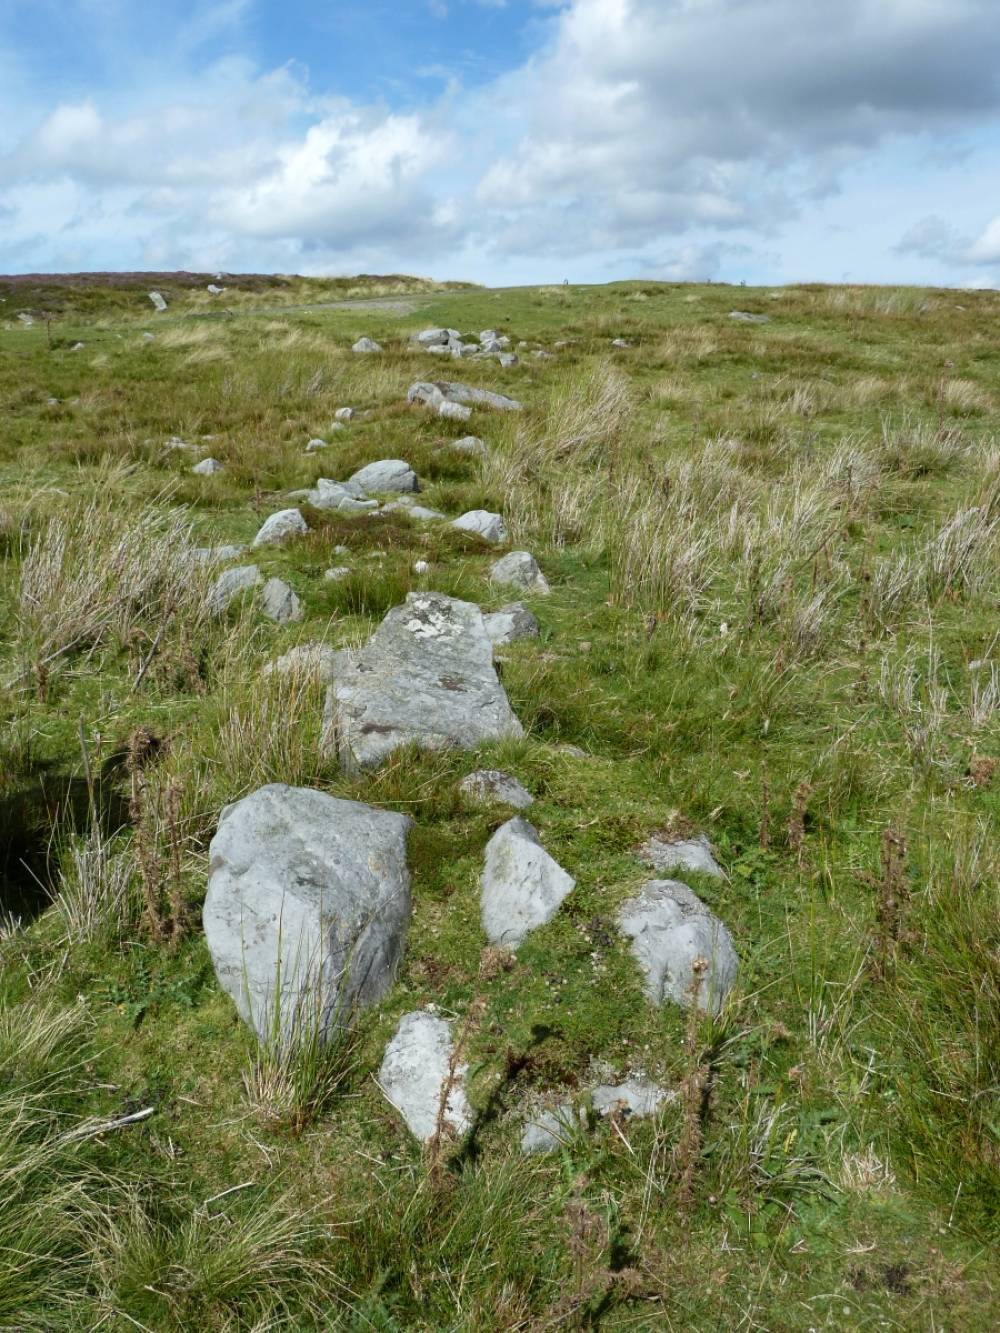
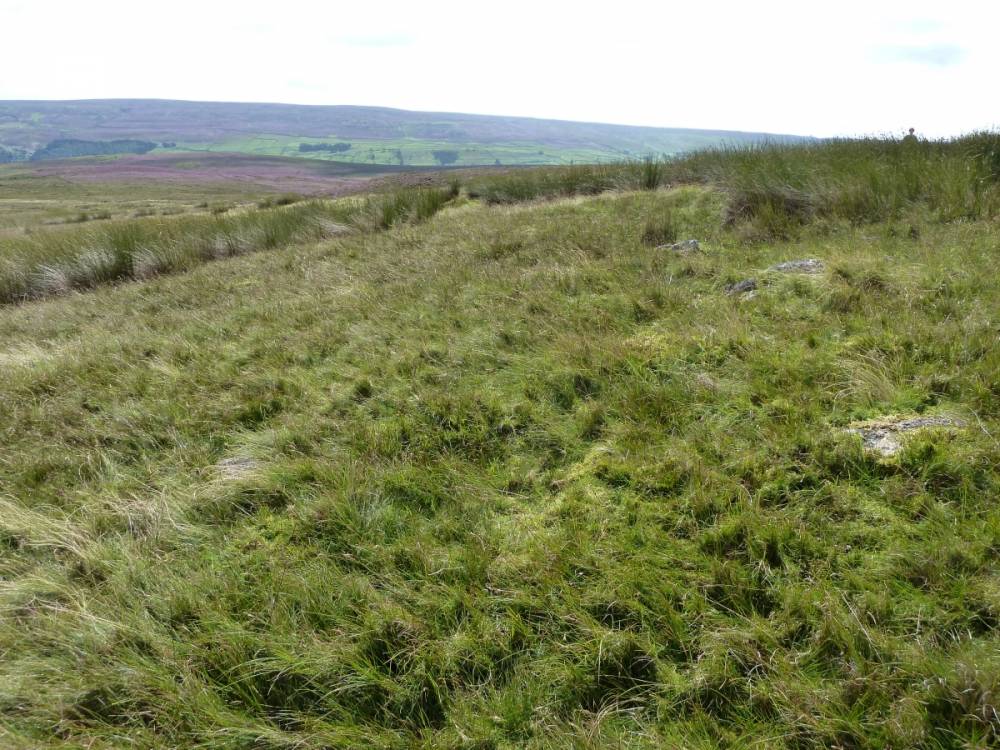
A coaxial field system remnant (L) which has been cut across at each end by a leat. NY 99354 00518 Image 26.
A naturally marked 'cup' stone NY 99365 00376 Image 27.
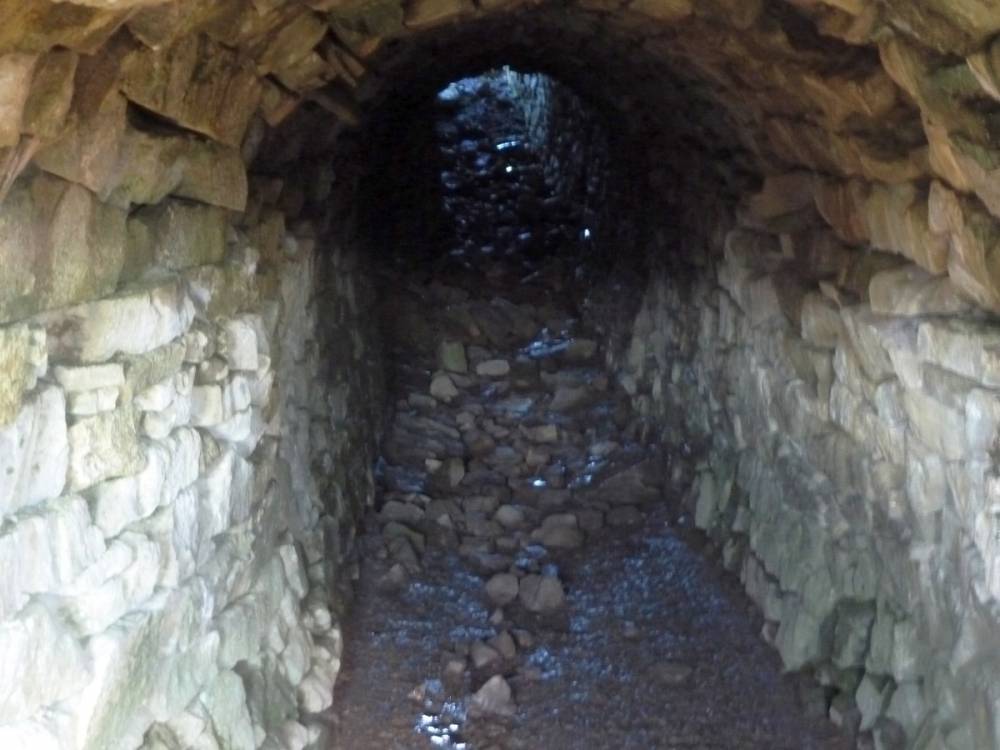
Additionally Image 28 shows the inside of the flue as it passes under the Low Row to Langthwaite road.
Image 29 Confluence of Barney Beck and Bleaberry Gill. Image 30 Barney Beck looking towards Surrender Bridge.
Surrender Smelt Mill is a scheduled monument. English Heritage's description can be read here.
|
| Image 1 ID | 962 Click image to enlarge |
| Image 1 Description | Site Map | 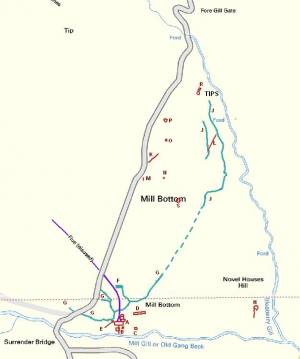 |
| Image 2 ID | 963 Click image to enlarge |
| Image 2 Description | Site Map southern section | 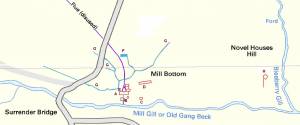 |
| Image 3 ID | 964 Click image to enlarge |
| Image 3 Description | Site Map northern section | 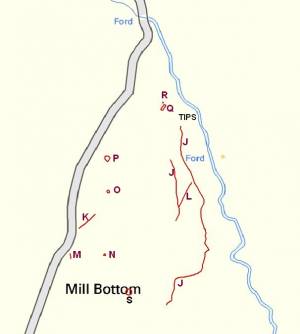 |
| Image 4 ID | 965 Click image to enlarge |
| Image 4 Description | Surrender Bridge and Smelt Mill - Google Earth Image | 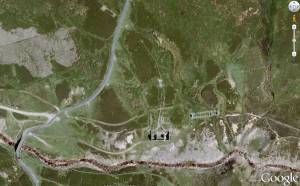 |
| Image 5 ID | 966 Click image to enlarge |
| Image 5 Description | Surrender Smelt Mill | 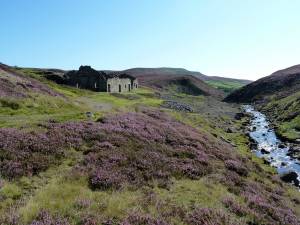 |
| Image 6 ID | 967 Click image to enlarge |
| Image 6 Description | Background Surrender Smelt Mill, middle left remains of Grinding House, foreground water leat from waterwheel race into Barney Beck. | 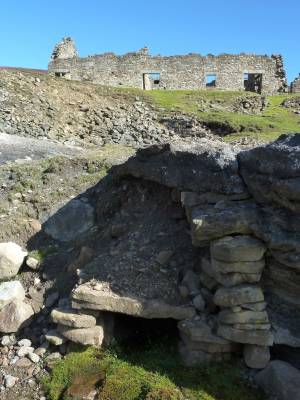 |
| Image 7 ID | 968 Click image to enlarge |
| Image 7 Description | Site of one of the 17C smelt mills. |  |
| Image 8 ID | 969 Click image to enlarge |
| Image 8 Description | Peathouse |  |
| Image 9 ID | 970 Click image to enlarge |
| Image 9 Description | View from where the leats end and a wooden launder would have carried water to the smelt mill's waterwheel. | 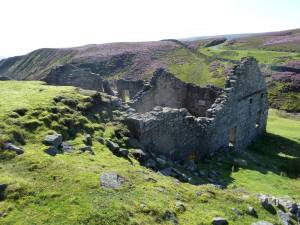 |
| Image 10 ID | 971 Click image to enlarge |
| Image 10 Description | One of the leats that carried water towards the smelt mill. | 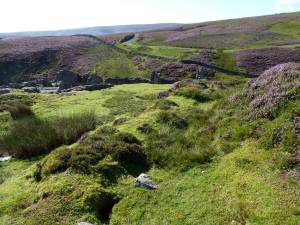 |
| Image 11 ID | 973 Click image to enlarge |
| Image 11 Description | Rectangular pond beside the flue. | 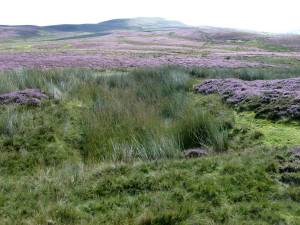 |
| Image 12 ID | 974 Click image to enlarge |
| Image 12 Description | Barras Low Level |  |
| Image 13 ID | 975 Click image to enlarge |
| Image 13 Description | Barras Mine 'shop or office' | 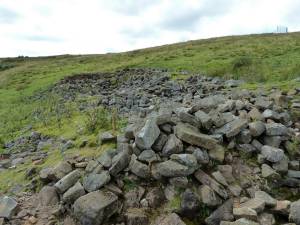 |
| Image 14 ID | 976 Click image to enlarge |
| Image 14 Description | Barras Mine tips | 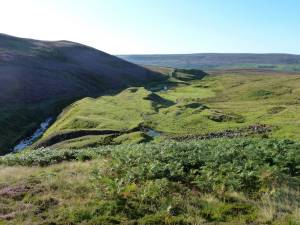 |
| Image 15 ID | 977 Click image to enlarge |
| Image 15 Description | Leat beginning near the Barras Mine tips which extends around the contours eventually towards Surrender Smelt Mill. | 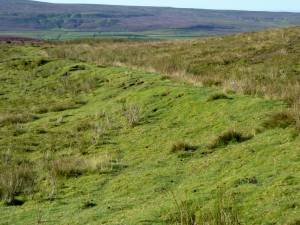 |
| Image 16 ID | 978 Click image to enlarge |
| Image 16 Description | Drystone wall enclosure |  |
| Image 17 ID | 979 Click image to enlarge |
| Image 17 Description | Drystone wall enclosure doorway |  |
| Image 18 ID | 980 Click image to enlarge |
| Image 18 Description | Drystone wall enclosure - Google Earth view | 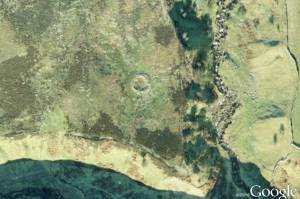 |
| Image 19 ID | 981 Click image to enlarge |
| Image 19 Description | Drystone wall enclosure: abutting wall. | 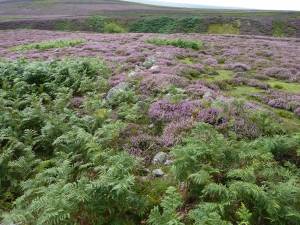 |
| Image 20 ID | 983 Click image to enlarge |
| Image 20 Description | Possible cairn (S) |  |
| Image 21 ID | 984 Click image to enlarge |
| Image 21 Description | Cairn (N) |  |
| Image 22 ID | 985 Click image to enlarge |
| Image 22 Description | Wall remnant (M) | 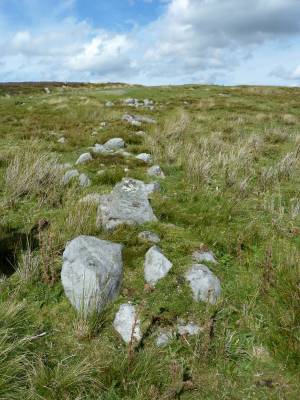 |
| Image 23 ID | 986 Click image to enlarge |
| Image 23 Description | Coaxial Field System (K) |  |
| Image 24 ID | 987 Click image to enlarge |
| Image 24 Description | Possible cairn (O) | 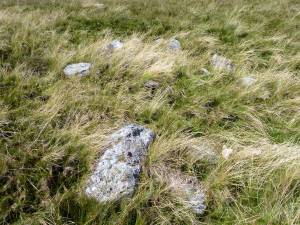 |
| Image 25 ID | 988 Click image to enlarge |
| Image 25 Description | Irregular ring of 11 stones (P) many difficult to see in the long grass. | 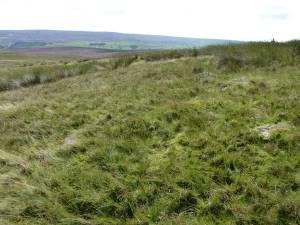 |
| Image 26 ID | 989 Click image to enlarge |
| Image 26 Description | Coaxial Field System (L) |  |
| Image 27 ID | 990 Click image to enlarge |
| Image 27 Description | Natural 'cup' stone | 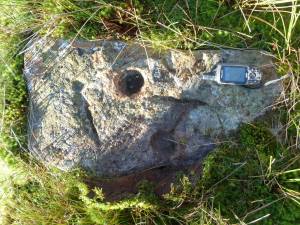 |
| Image 28 ID | 991 Click image to enlarge |
| Image 28 Description | Flue as it passes under Low Row to Langthwaite road | 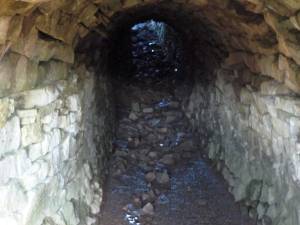 |
| Image 29 ID | 992 Click image to enlarge |
| Image 29 Description | Confluence of Barney Beck (right) and Bleaberry Gill (left) |  |
| Image 30 ID | 993 Click image to enlarge |
| Image 30 Description | Barney Beck looking towards Surrender Bridge. | 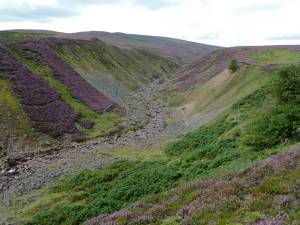 |